Inlay Adventures – Part Two
As you will know, trying out new creative techniques can be both fun and frustrating all at the same time. As adults we often seem to set ourselves unrealistic expectations of obtaining a perfect result first time around. Unreasonably comparing our abilities as beginners to those of the masters.
To help to take the pressure off and give us a greater chance of success, it’s worthwhile taking time to ‘play’. Make models, build prototypes and test pieces. Just using the word ‘test’ or ‘experiment‘ takes away all the expectations of perfection, allowing us freedom to explore, create and learn.
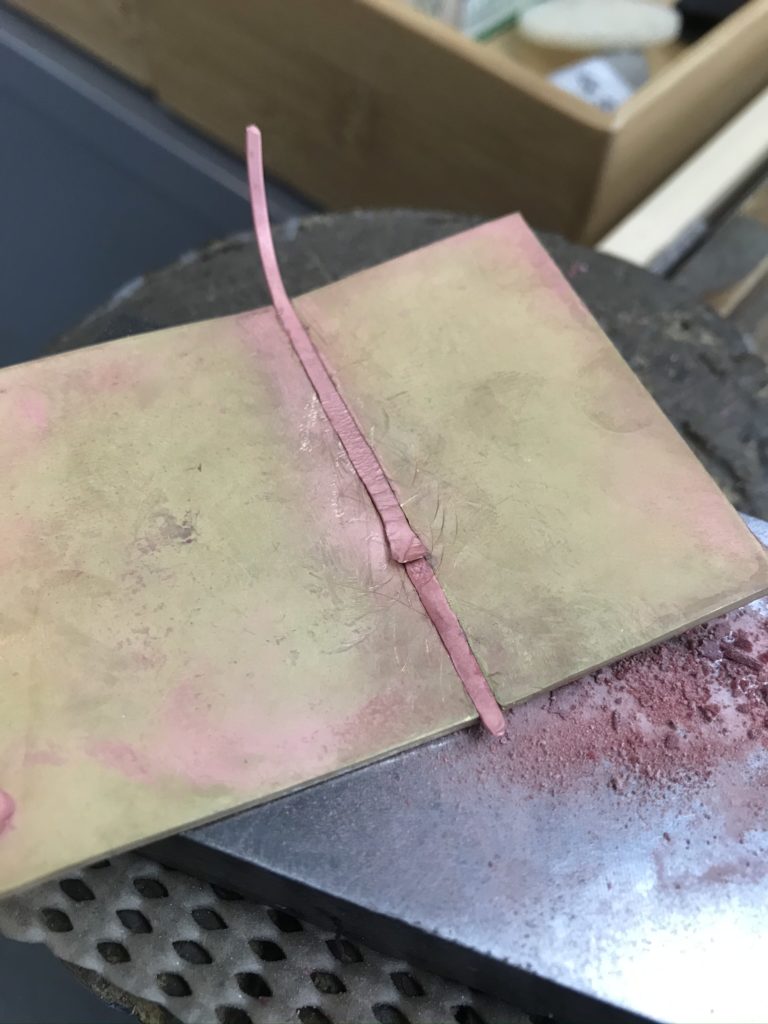
With this in mind I’ve been continuing my experiments with metal inlay. This time I’ve been having a go at inlaying metal in a straight line into a flat sheet of metal. (Believe me when I say it’s much harder than it sounds!)
Whilst these are just my own personal notes, I thought they might be of some interest to you. Perhaps you like the idea of having a go too, or maybe you’re just curious to know more about metal inlay.
One thing’s for sure, running experiments enables you to learn so much more, building on failures being a very crucial part of the process.
These are my findings.
Purpose
To inlay a straight line of metal into a metal sheet.
Materials
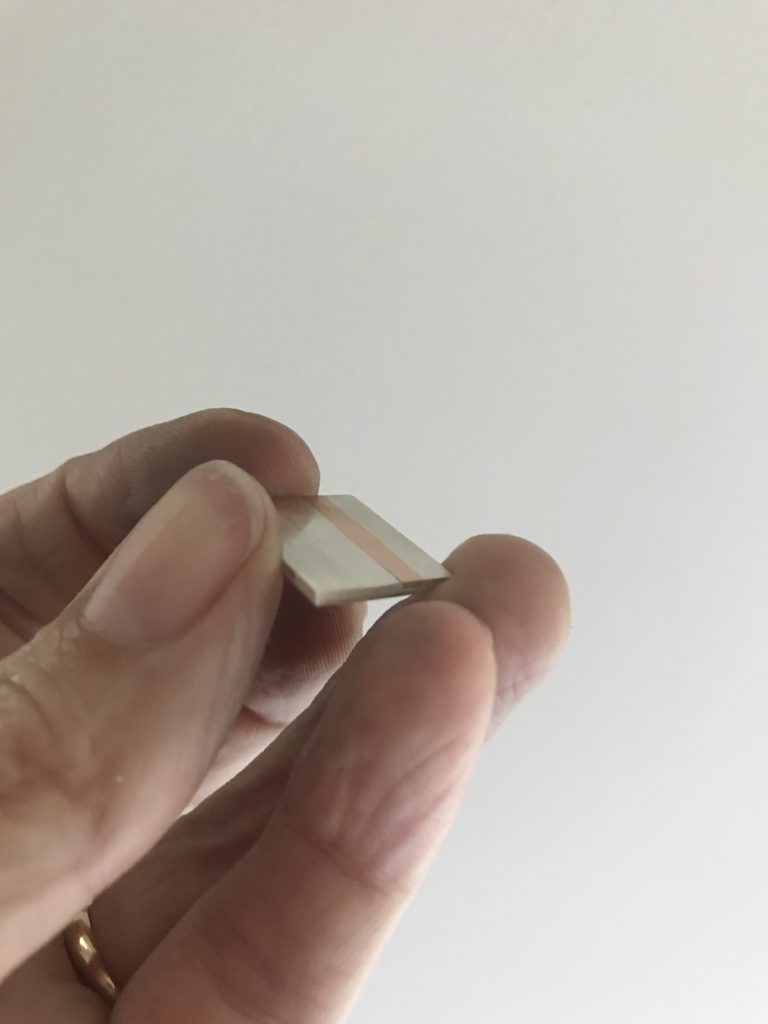
2mm thick sheet of Brass and 1mm round Copper wire
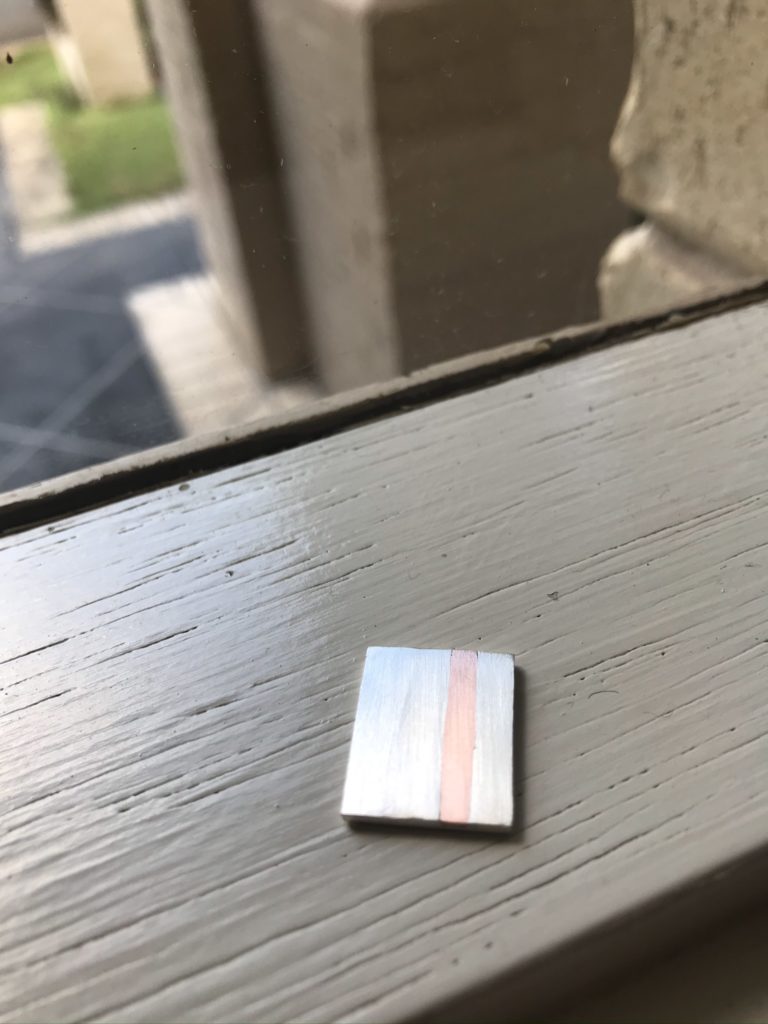
1.5 mm thick Sterling Silver and 0.5mm Copper sheet
The Theory
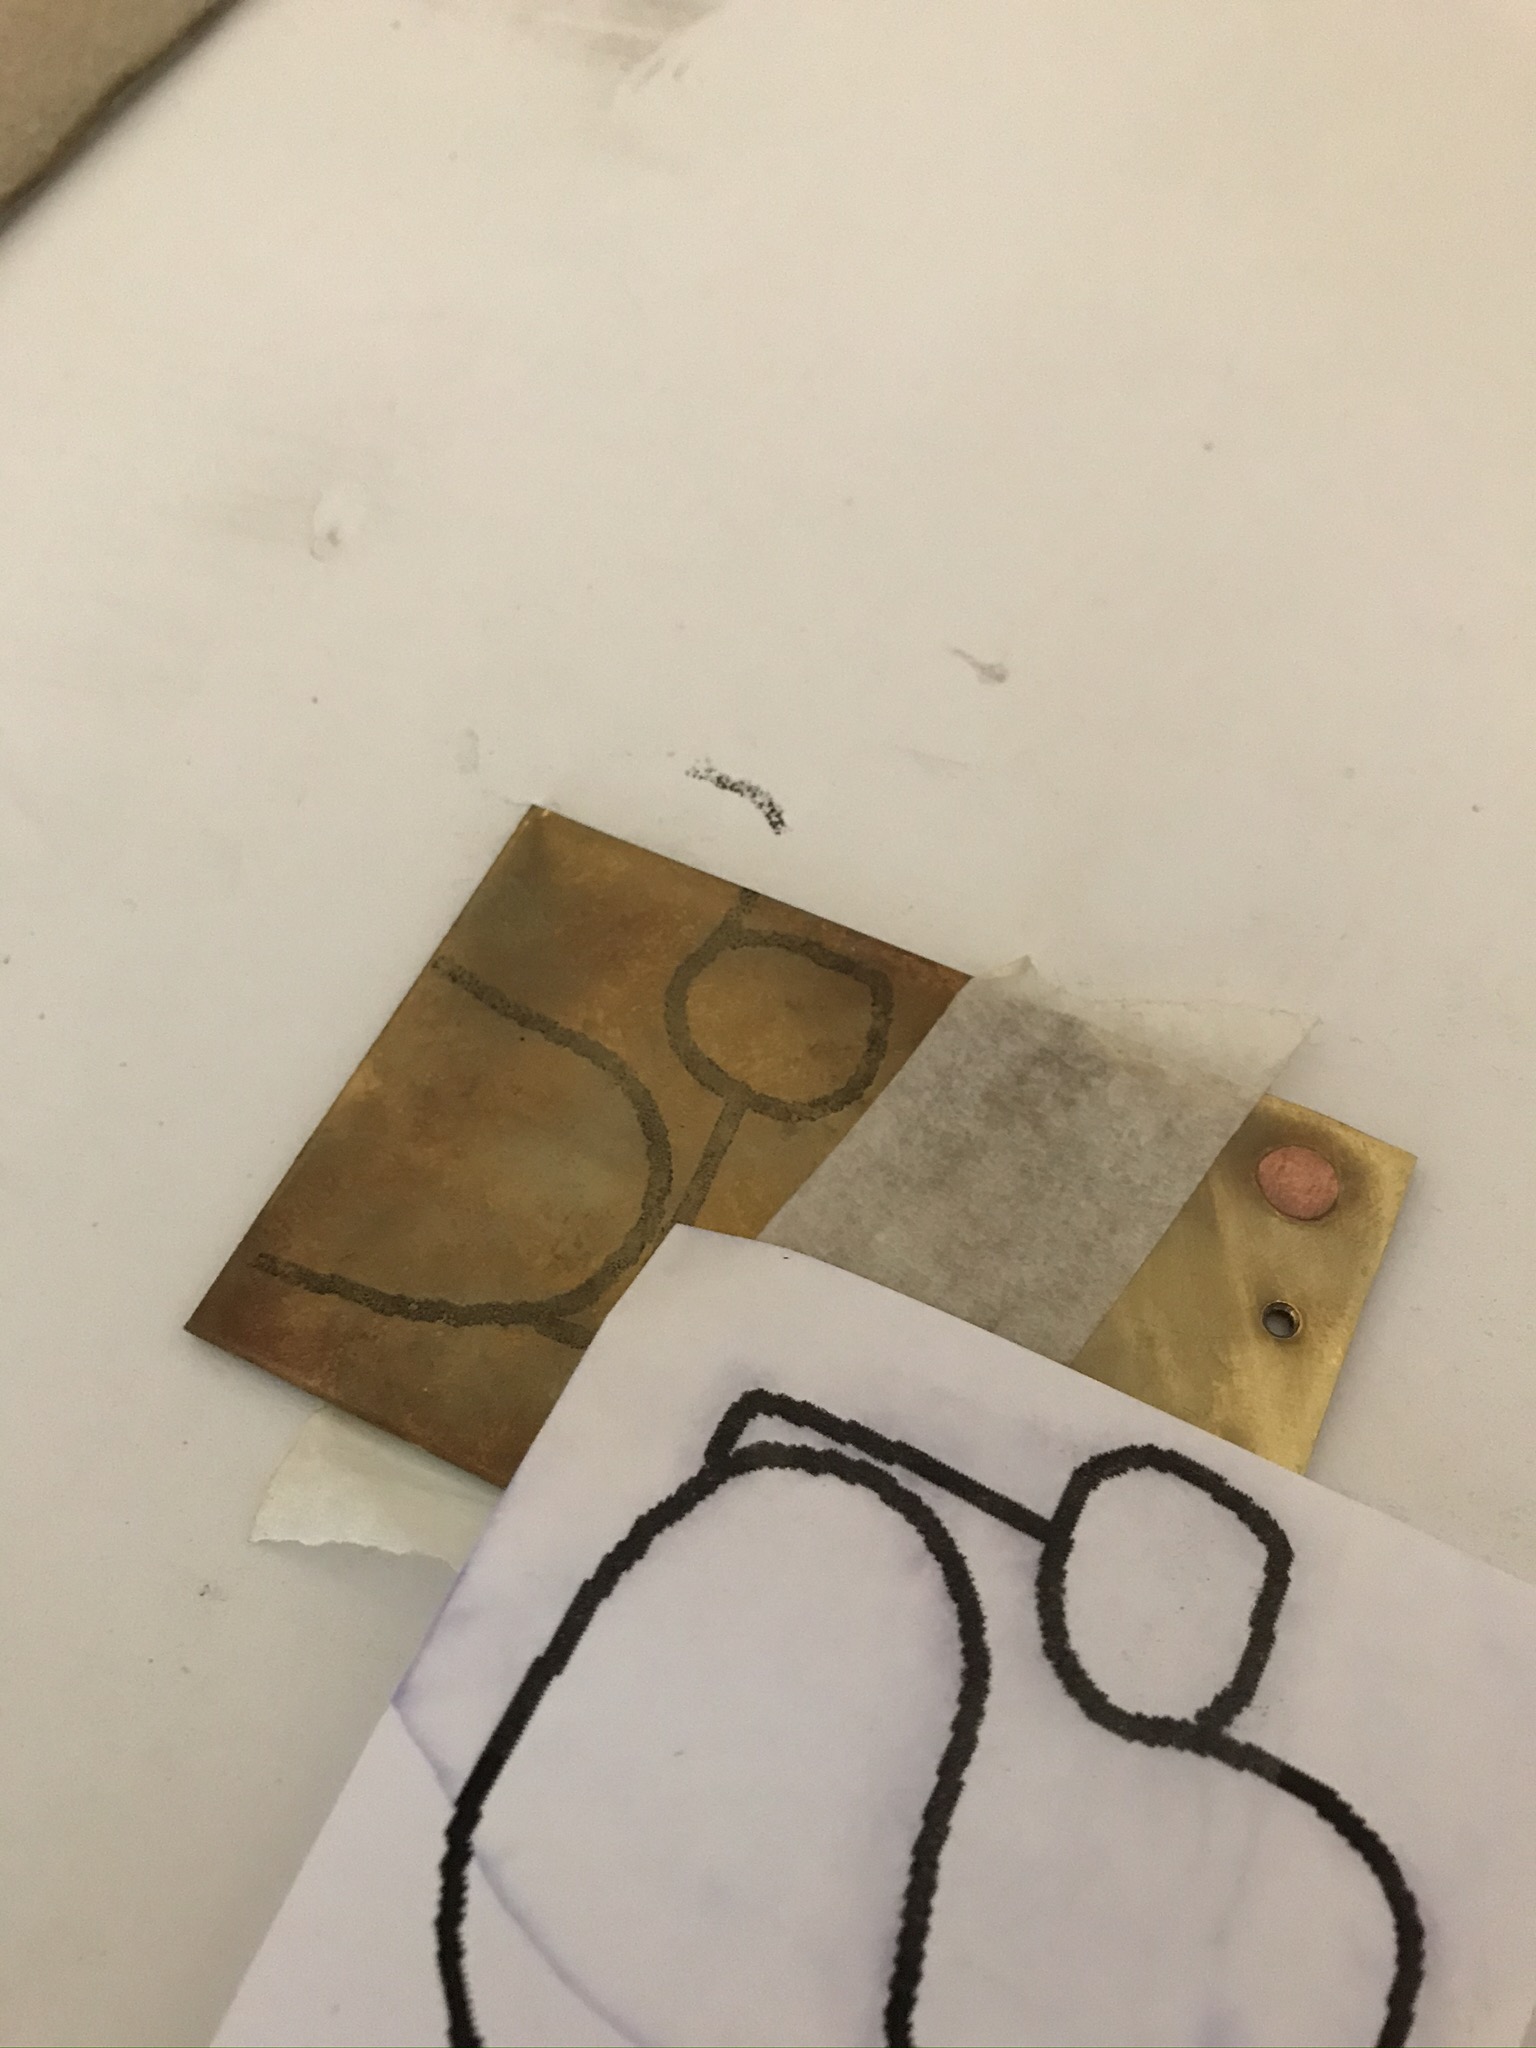
- Use a ruler to scribe a straight line on a flat sheet of brass or sterling silver.
- File through the line to cut out a groove along the length of the line to a depth of half way through the metal sheet. The groove will have straight sides.
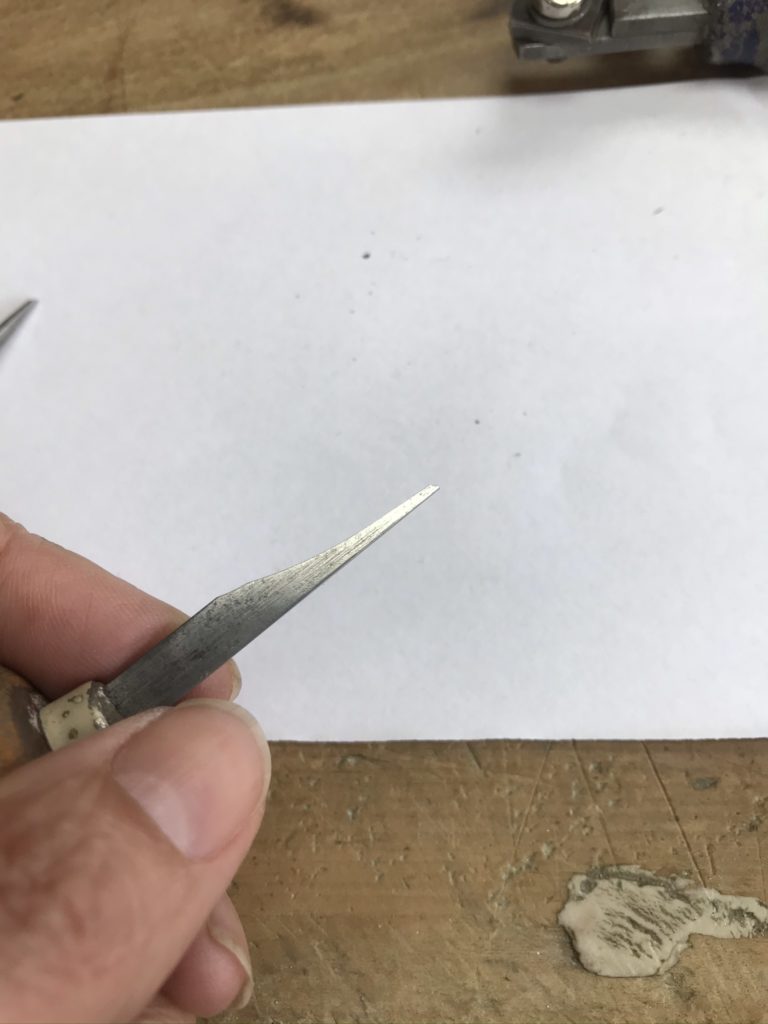
- Use a cutting burr to undercut the walls of the groove.
- Anneal the copper wire or sheet and check that it fits.
- Hammer the copper wire or sheet into the groove.
- File and emery the surface to flush.
Findings
- Cutting the groove
- Cutting the groove is not as quick as it sounds!
- Filing does not remove enough metal in the groove. Need to use gravers to cut out the metal in the groove.
- The gravers must be small enough and the right shape to cut a groove with straight sides. Check that the width of the graver is no wider than the metal to be inlayed.
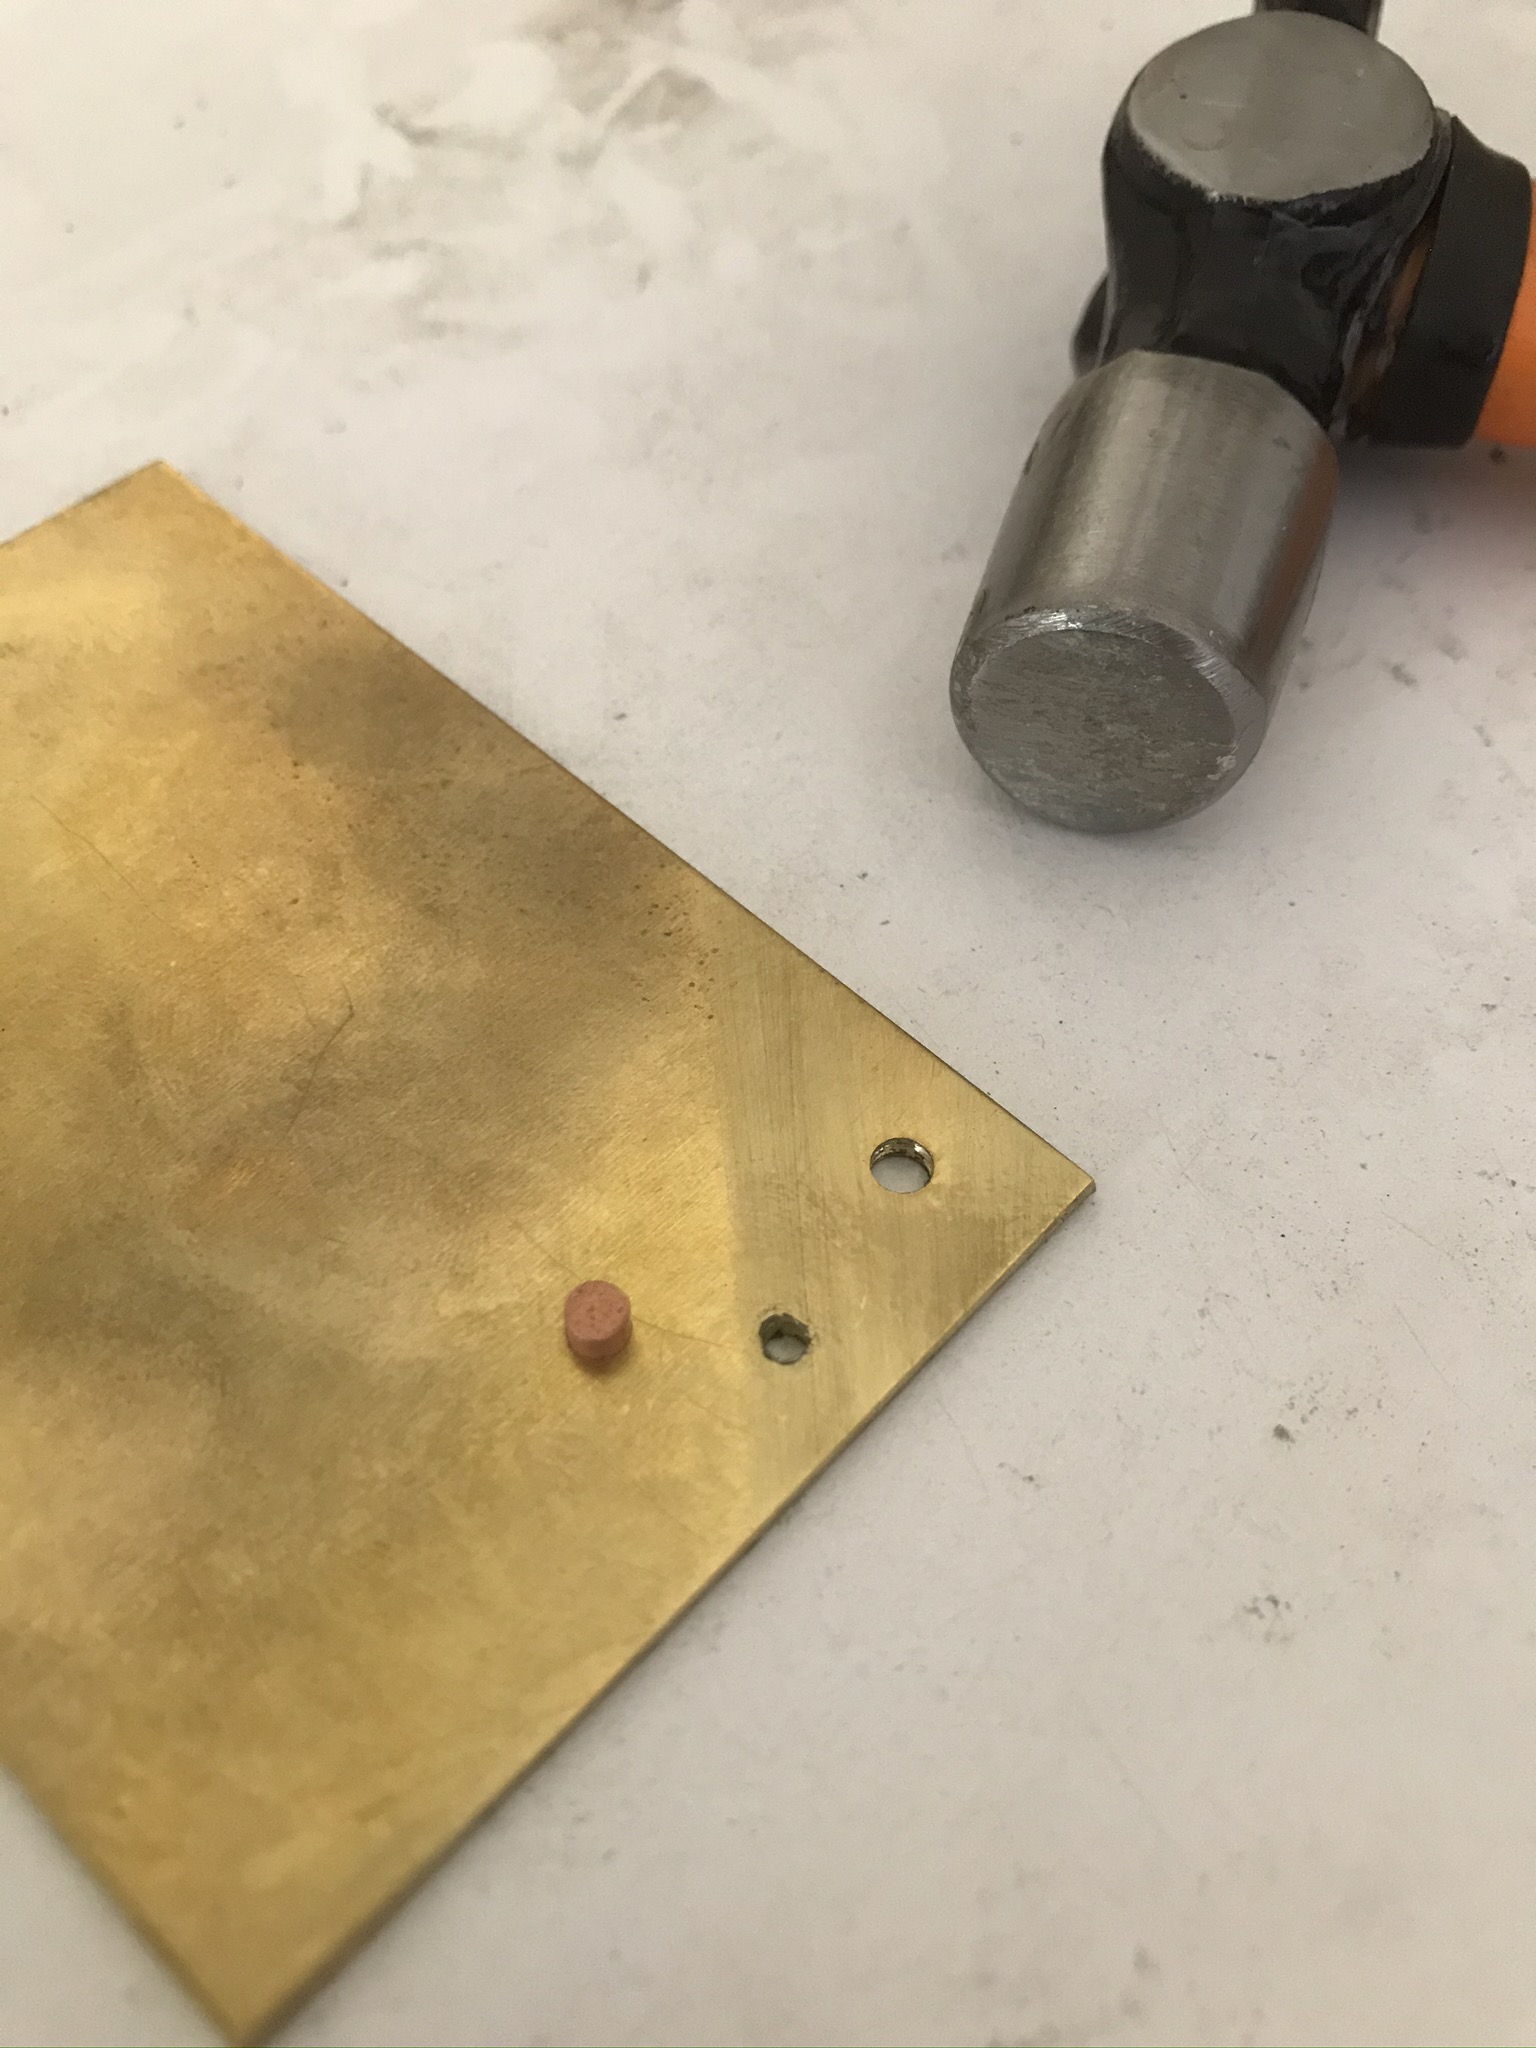
- Securing the base sheet on a wax setting dowel worked well. The dowel was then secured in a vice, leaving both hands free to work the tools.
- If using wire, the wire diameter must be no bigger than the width of the groove.
- The depth of the groove doesn’t need to be that deep. Just deep enough to enable you to make the undercut.
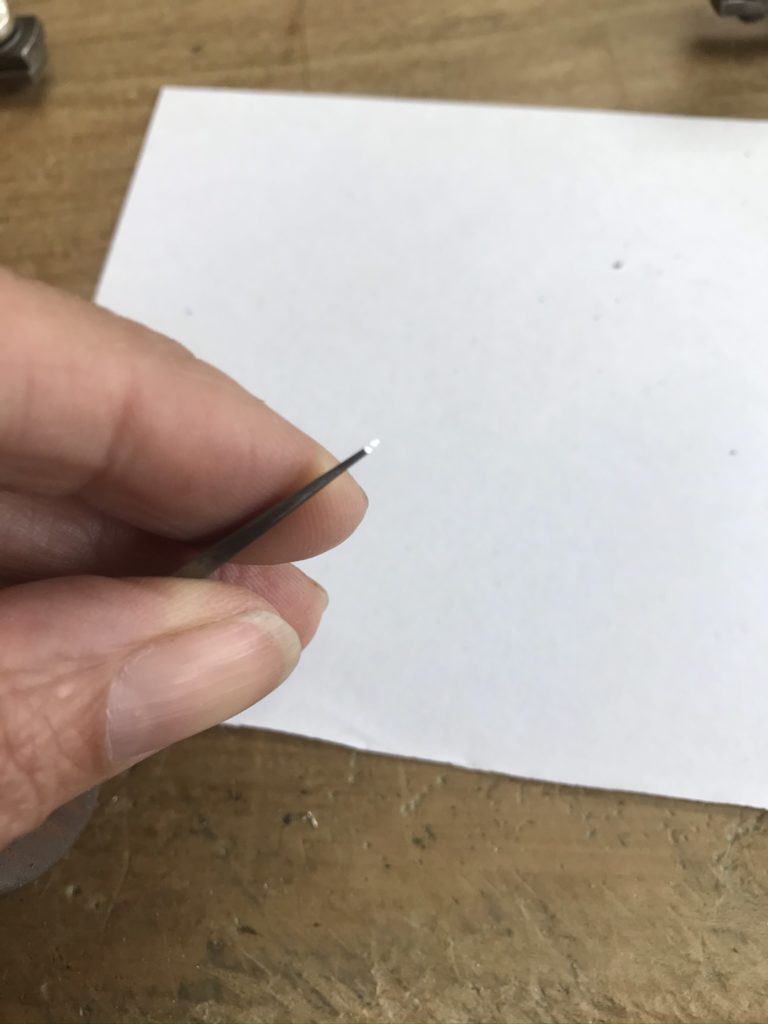
The Undercut
- The undercut doesn’t need to be that big, just enough to allow the metal to catch.
I tried various methods for undercutting the groove:
- Hammering a graver into the base of the sides. This created a bur at the top of the groove without removing any metal, but seemed to work.
- Using a thin flat graver to engrave a groove into the base of the sides. This removed a small amount of metal to create the undercut and also seemed to work.
- Used a tiny 1.3mm pointed bur to make the undercut. This worked with a good deal more hammering of the inlay.
- Inverted cone bur. This worked if use the right size bur and work from the end of the groove, sliding the bur along the groove. Will not work if the groove has no open end.
Inserting The Inlay
- When hammering the inlay into place the wire lengthened. Need to take account of this when considering how to hammer a wire in place. Work from one end to the other along the wire.
- If needs be you can roll the wire a little in the rolling mill to flatten it a fraction before tapping it into the inlay. Roll it sideways to increase the width as opposed to lengthways.
- On my first attempt, when tapping the inlay into the base sheet, the sheet bent. To straighten it I foolishly annealed it, then used a raw hide mallet to gently tap the sheet flat. At this point the inlay fell out! Conclusion is that the base sheet should always be work hardened which will keep the shape of the groove and undercut. Only the inlay metal should ever be annealed.
Revised Process
Learning from the above, I think this would be a better procedure:
- Secure the base sheet of metal on a wax setting dowel.
- Scribe a straight line on the sheet of metal.
- Use a graver which is smaller than the desired inlay to cut a v shape along the line. Dig the graver into the metal, then lower the angle and push forwards to cut a sliver of metal from the sheet. Do not rock the graver.
- Then use a square graver which is the same width as the desired inlay to cut straight sides along the groove.
- Use a small, thin edged graver to cut the undercut in both sides of the groove.
- Anneal the inlay metal, NOT the base sheet.
- Check the width of the inlay piece in relation to the groove and if necessary file edges to ensure inlay fits the groove.
- Gently tap the inlay into place with a hammer, working from one end of the wire to the other.
- File and emery to finish.
These are my findings so far. I love that these experiments are allowing me to ask questions like ‘what if?’ and ‘why?’ and ‘how about ..?’
Next I’m planning to try inlaying a line of metal into a domed sheet of metal. The theory I guess is the same, but wonder if it is possible and what the limitations are?